
How to Install Toner Cartridge: A Step-by-Step Guide
Installing a toner cartridge can seem like a daunting task, especially if you’re new to the process. However, with the right guidance, it can be a straightforward and hassle-free experience. In this detailed guide, we’ll walk you through the process of installing a toner cartridge, ensuring that you can do it with confidence and ease.
Understanding Your Printer
Before you begin, it’s important to understand the type of printer you have and the specific toner cartridge it requires. Check the printer’s manual or the manufacturer’s website for information on compatible toner cartridges. This will help you avoid purchasing the wrong type and ensure that your printer functions optimally.

Gathering the Necessary Tools
While installing a toner cartridge typically doesn’t require any special tools, it’s always good to have a few essentials on hand. Here’s a list of items you might need:
| Item | Description |
|---|---|
| Toner Cartridge | The toner cartridge you plan to install. |
| Scissors or Paper Knife | Used to cut through packaging or tape. |
| Soft, Clean Cloth | For cleaning the printer’s exterior and interior. |
| Soft Brush | For cleaning the printer’s roller and other components. |
Step-by-Step Installation Guide
Now that you have the necessary tools and a compatible toner cartridge, let’s dive into the installation process:
-
Power off your printer and unplug it from the power source. This is an important safety step to prevent any electrical hazards.
-
Open the printer’s cover or access panel. This may require pressing a button or lifting a lever, depending on your printer model.
-
Locate the old toner cartridge. It will be in a slot or compartment within the printer. Gently pull it out, being careful not to touch the imaging drum or roller.
-
Remove the toner cartridge from its packaging. Be sure to dispose of the packaging properly.
-
Remove the protective tape from the new toner cartridge. This tape is typically located on the side or top of the cartridge.
-
Align the new toner cartridge with the slot or compartment in the printer. Gently push it into place until it clicks into position.
-
Close the printer’s cover or access panel. Make sure it is securely latched.
-
Power on your printer and wait for it to warm up. Once it’s ready, you can print a test page to ensure that the new toner cartridge is working correctly.
Common Issues and Solutions
While installing a toner cartridge is generally straightforward, you may encounter some common issues. Here are a few troubleshooting tips:
-
Cartridge won’t stay in place: Ensure that the toner cartridge is properly aligned with the slot or compartment. If it’s still not staying in place, try cleaning the slot with a soft cloth and brush.
-
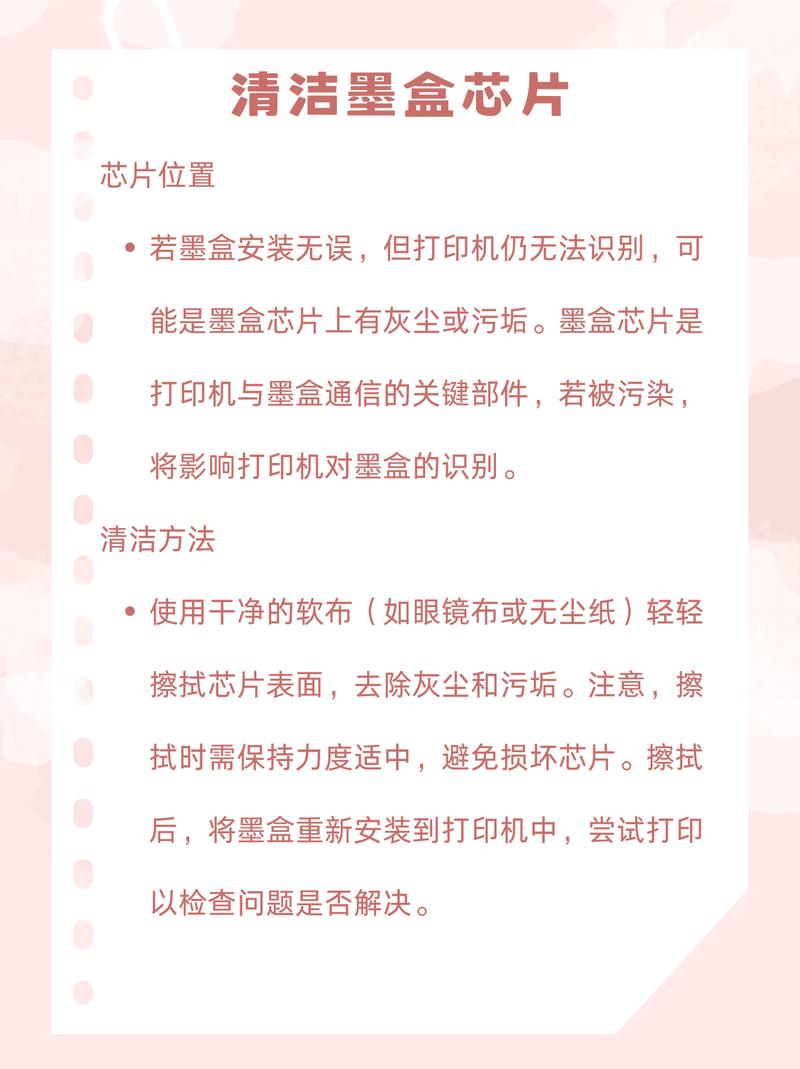
Printer won’t recognize the new cartridge: Check the printer’s manual or manufacturer’s website for instructions on how to reset the toner cartridge counter. If that doesn’t work, try removing and reinserting the cartridge a few times.
-
Print quality is poor: Ensure that the toner cartridge is properly seated and that the imaging drum is clean. If the problem persists, try cleaning the printer’s roller and roller cover.
By following these steps and troubleshooting tips, you should be able to install a toner cartridge with ease. Remember to always handle the toner cartridge with care, as it can be sensitive to static and dust. With a little patience and attention to detail, you’ll have your printer up and running in no time.


