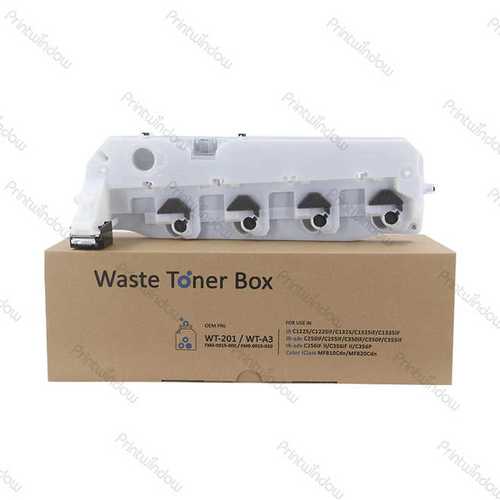
Canon Waste Toner Container: A Comprehensive Guide
When it comes to maintaining your Canon printer, one of the most crucial components you need to pay attention to is the waste toner container. This container plays a vital role in ensuring the smooth operation of your printer and prolonging its lifespan. In this article, we will delve into the details of the Canon waste toner container, covering its purpose, features, installation, maintenance, and troubleshooting. By the end of this guide, you will have a thorough understanding of this essential printer component.
Purpose of the Waste Toner Container
The primary function of the waste toner container is to collect excess toner that is not used during the printing process. This excess toner can be a result of various factors, such as misaligned print heads, paper jams, or incorrect paper settings. By containing the excess toner, the waste toner container helps prevent it from contaminating the printer’s internal components, which could lead to malfunctions or reduced print quality.
Features of the Canon Waste Toner Container
Canon waste toner containers come with several features designed to enhance their performance and user experience:
| Feature | Description |
|---|---|
| Capacity | Varies depending on the printer model, ranging from 20ml to 50ml. |
| Material | Typically made of plastic, ensuring durability and resistance to toner leakage. |
| Design | Compact and lightweight, making it easy to install and remove. |
| Indicator | Most waste toner containers come with a clear indicator that shows when it’s time to replace the container. |
These features make the Canon waste toner container a reliable and user-friendly component for your printer.
Installation of the Waste Toner Container
Installing the waste toner container is a straightforward process. Here’s a step-by-step guide to help you through the installation:
- Locate the waste toner container in your printer. It is usually located at the back or side of the printer.
- Remove the old waste toner container by gently pulling it out.
- Take the new waste toner container and align it with the designated slot in the printer.
- Push the container firmly into place until it clicks into position.
- Check the indicator to ensure the container is properly installed.
It’s important to handle the waste toner container with care to avoid spills or damage to the container itself.
Maintenance of the Waste Toner Container
Maintaining the waste toner container is essential to ensure optimal printer performance. Here are some tips to help you keep your container in good condition:
- Clean the container regularly: Wipe the container with a soft, dry cloth to remove any toner residue or dust.
- Check the indicator: Monitor the indicator to determine when it’s time to replace the container.
- Handle with care: Avoid touching the container with bare hands, as oils from your skin can contaminate the toner.
By following these maintenance tips, you can extend the life of your waste toner container and ensure your printer operates efficiently.
Troubleshooting Common Issues with the Waste Toner Container
Despite proper maintenance, you may encounter some issues with your waste toner container. Here are some common problems and their solutions:
- Container not fitting properly: Ensure that the container is aligned correctly with the designated slot in the printer. If it’s still not fitting, try cleaning the slot with a soft cloth.
- Container leaking: Check for any cracks or damage to the container. If you find any, replace the container with a new one.
- Indicator not working: Ensure that the indicator is properly installed and that the container is seated correctly. If the problem persists, contact Canon customer support for assistance.
By addressing these common issues,


