How to Make Custom Text Tone iPhone: A Comprehensive Guide
Customizing your iPhone’s text tone can be a fun and personal way to express yourself. Whether you want to set a unique ringtone for your messages or create a distinctive alert sound for your favorite contacts, this guide will walk you through the process step by step.
Understanding Text Tones
Before diving into the customization process, it’s important to understand what text tones are. Text tones are the sounds that play when you receive a text message, email, or other notifications. They can be a simple beep or a more complex melody.
Step 1: Find a Custom Text Tone
The first step in creating a custom text tone is to find a sound that you like. You can use a sound file from your own collection, or you can download one from the internet. Here are a few places where you can find custom text tones:
Step 2: Convert the Sound File
Most custom text tones are in MP3 format, but your iPhone requires them to be in M4R format. You can convert the sound file using a free online converter like Zamzar. Here’s how to do it:
- Go to Zamzar’s website and upload your MP3 file.
- Select M4R as the output format.
- Click “Convert” and wait for the process to complete.
- Download the converted M4R file to your computer.
Step 3: Transfer the M4R File to Your iPhone
Once you have the M4R file, you need to transfer it to your iPhone. You can do this using iTunes or a third-party file manager app like Transmit.
- Connect your iPhone to your computer using a USB cable.
- Open iTunes and select your iPhone from the list of devices.
- Click on “Music” and then select “Sync Music.” Uncheck “Include Music” and click “Apply.” This will remove all music from your iPhone.
- Open the folder where you saved the M4R file and drag it into the “Music” section of your iPhone in iTunes.
- Click “Apply” to sync the M4R file to your iPhone.
Step 4: Set the Custom Text Tone
Now that you have the M4R file on your iPhone, it’s time to set it as your custom text tone.

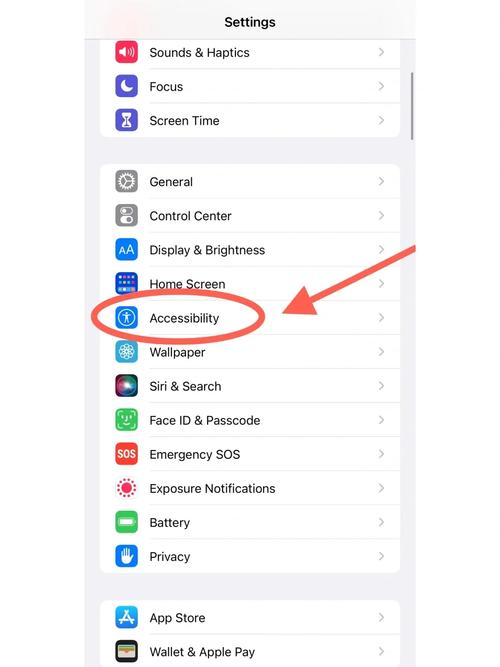
- Open the “Settings” app on your iPhone.
- Scroll down and tap on “Sounds & Haptics.” Then, tap on “Text Tone.”
- Scroll through the list of available tones and tap on the one you want to replace.
- Tap “Delete Tone” to remove the current tone.
- Tap “Add New Tone” and select the M4R file you transferred to your iPhone.
Step 5: Assign the Custom Text Tone to a Contact
Once you have set your custom text tone, you can assign it to a specific contact.
- Open the “Contacts” app on your iPhone.
- Tap on the contact you want to assign the custom text tone to.
- Scroll down and tap on “Ringtone.” Then, tap on “Custom.” Select the custom text tone you just set.
Step 6: Test Your Custom Text Tone
After assigning the custom text tone to a contact, it’s a good idea to test it to make sure it works correctly.
- Send a text message to the contact you assigned the custom text tone to.
- Listen for the custom text tone to play when the message arrives.


